
Materials needed:
* One pound of worm castings
* One 5 gallon bucket with lid
* One 1 gallon paint strainer
* One tie wrap
* Drill motor and a 3/16" drill
* 1' long piece of cord or wire
* 3/8"x1" wood dowel, pencil or twig,
* 5' of 1/2" drip irrigation tubing, any hose or tube will work, even PVC
* 1 Tee hose fitting
* Air supply, I use my air compressor.
 |
| Assembled air supply hose |
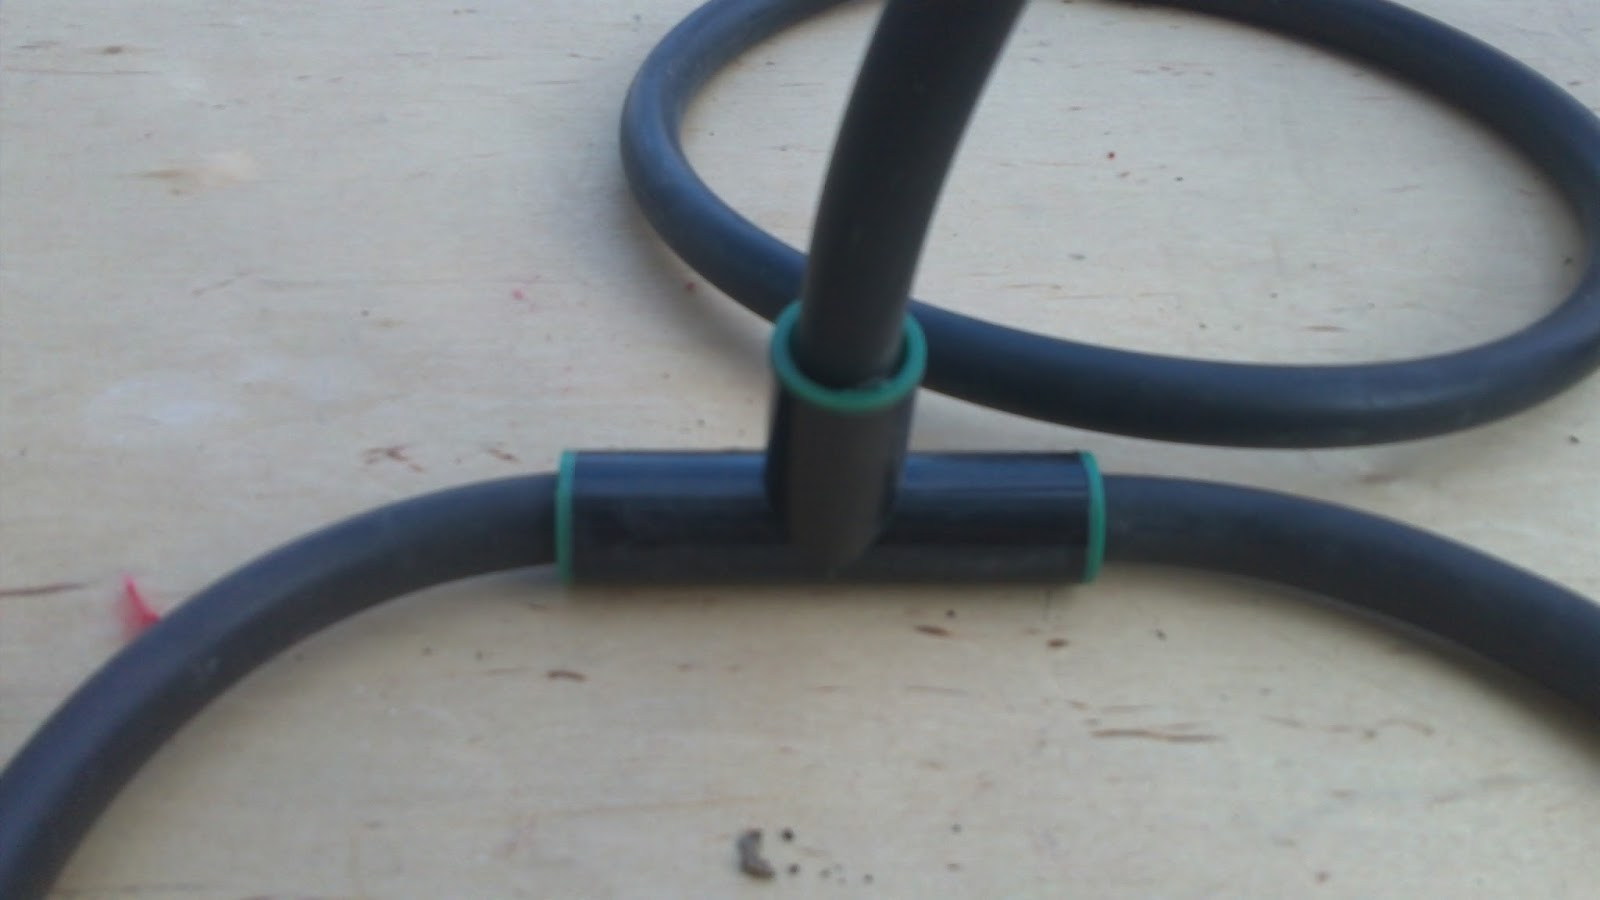 |
| I used drip irrigation tubing and parts, one slip Tee with the 1/2" plastic tubing. |
 |
| A quick release air fitting is placed at the end of the hose. |
 |
| Clean Bucket and locking lid, tie wraps are on the lid, just one is needed. |
 |
| 1-gallon paint strainer, they come two in a package. |
 |
| 1 pound of "scat", worm castings |
 |
| Air pressure will force the tubing to the sides of the bucket. |
 |
| Take notice of the tie wrap. |
Place the scat in the paint strainer bag, a nylon stocking, burlap bag, cotton sock or any porous bag will work, use what you have. Holding the open end of the (now) Tea Bag, tie the cord that is penetrating the lid around the top of the bag. The bag should be adjusted to allow it to be completely covered in water once it's in the bucket, check it by holding the lid and letting the tea bag hang on the outside of the bucket. As long as the tea bag is fully immersed in the water it will perform well.
 |
| Check how far the tea bag hangs in the bucket, fully immersed and off of the bottom is the proper spot to allow circulation in and around the bag. |
 |
| Place the tea bag, and lid on the bucket, align the cutout on the lid with the tubing, then snap the lid tight. Notice the fit of the 1" dowel with the cord through a 3/16" hole through its center |
Set the lid and tea bag aside while filling the bucket with water, I use 3 gallons of water in the 5-gallon bucket, I dilute the solution 50/50, 1/2 water and 1/2 worm tea creating 6 gallons of the fertilizer. Place the tea bag in the water, snap the lid in place. The tea bag should now be totally covered with the water in the bucket, the air supply tube should be exiting the bucket un-obstructed and the lid snapped tight to eliminate any chance of the liquid sloshing all over the place.
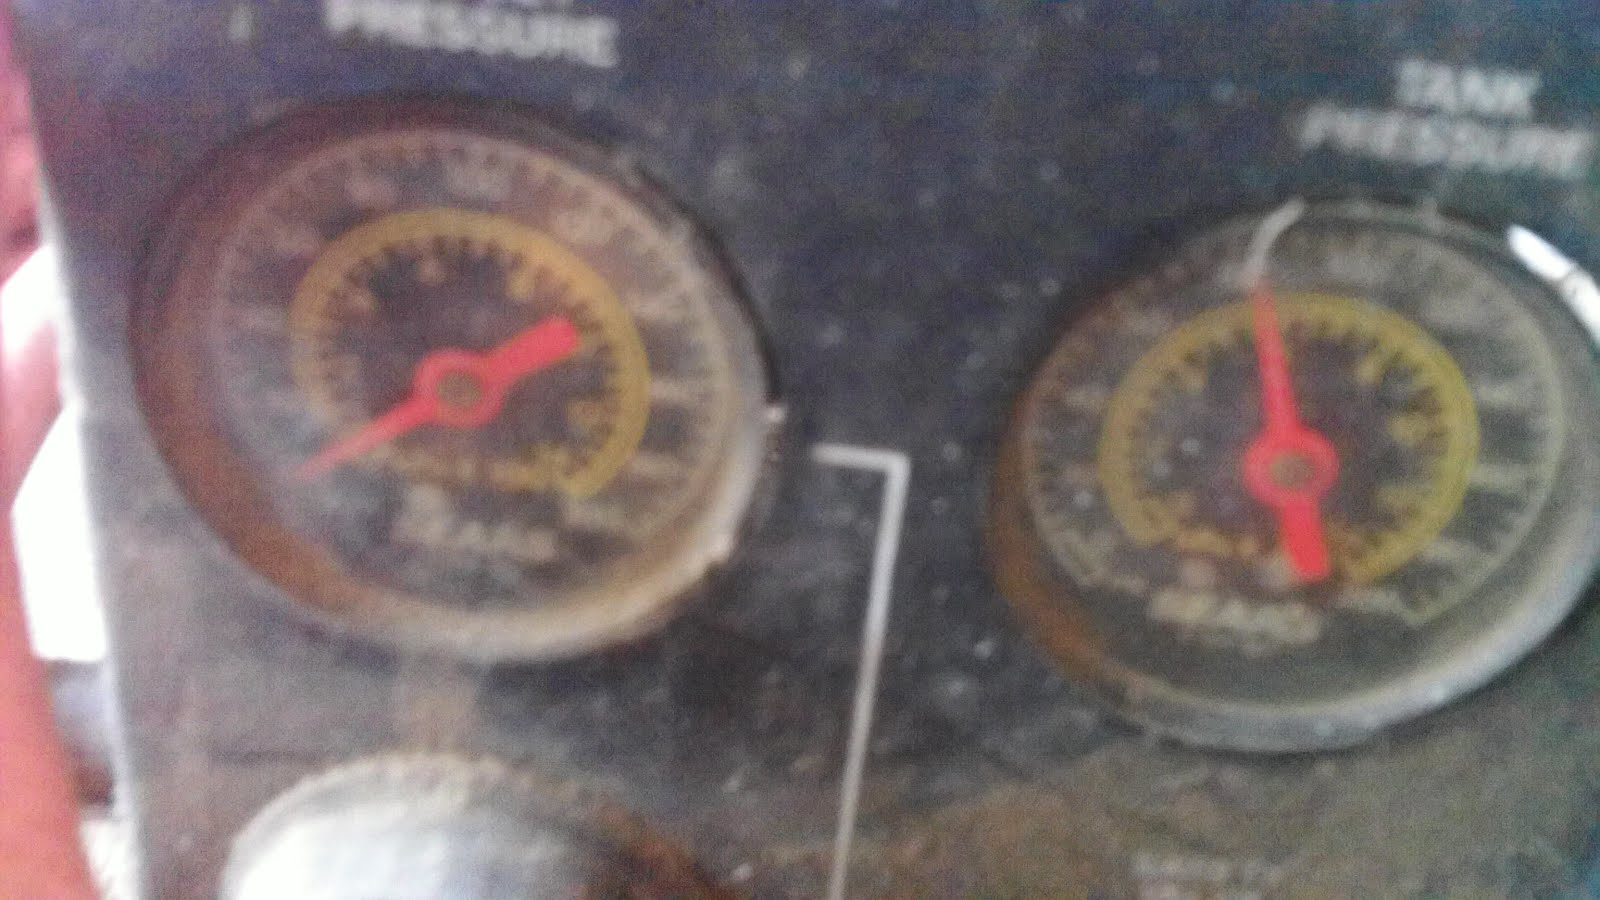 |
| This is a poor quality photo, due to the accumulation of years of use, I bought this compressor in 1978. The regulator on the left is set to 7 psi, it bounces between 7&10, the average is most likely 7-1/2 psi. |
I use my air compressor as an air supply, it has a 20-gallon receiver tank which aids in it cycling less. The air pressure in the tank is set to 80 psi, I have set the outlet pressure to 7 psi, while it is running the outlet pressure varies from 5-10 psi, it bounces around. It is getting plenty of air which is very important, the air supply hose is 1/2", it has two 1/2" open tubes on the other end making the flow totally unrestricted. The air flow should be much like this video I made after I turned the air on.
Use water from a well, pond or rain barrel, I use the water from our well, chlorinated tap water can be used however the chlorine must be allowed to "gas off" by allowing it to stand with an open lid for 24 hours. Sunlight dissipates chlorine rapidly, an added advantage to letting the tap water sit in the sun is it will warm the water. The beneficial organisms will produce better in water that is 70 degrees or higher.
The tea needs to bubble for 24 hours, we want aerobic organisms, if they go anaerobic (without air) the effect of the solution is greatly reduced or eliminated.
The tea needs to be used as soon as possible, the same day it is made is best, the air in the water will remain for a maximum of 4 days. If the tea smells ranchy it is an indication it has gone anaerobic, it lost its oxygen and the beneficial bacterias and enzymes have (for lack of another word), died.
 |
| The completed brewer, it can be brewed without the lid however it can get a bit messy. |
That is the manner in which I construct a tea brewer, there are literally dozens of ways to make them. A bag is not really needed, the scat can be merely placed in the water and left to circulate while it is brewing. I use a sock, or strainer because it eliminates the need to strain the solution prior to loading it into a sprayer or (my preferred method) a watering can with a diffuser on the outlet. Many people brew the tea without air as well, merely placing the scat in a bag, (or not, as you prefer) and allowing it to steep in the water for 24 hours when using this method the solution should be used immediately. No matter the method, it can be diluted 50/50, some claim 25 tea to 75 water is usable. It's also prudent to remember this is now liquid manure, all precautions should be taken when dealing with it. I don't use it on the leaves of herbs for example, or when the fruit shows on the plants I will only add the liquid to the base of the plant. However on flowers or yard plants liberal use is advised, sprinkle or spray on the leaves, it controls some pests.
 |
| This Turkey Vulture was watching me while I was taking the pictures, I sure hope it's not a premonition. |
The tea brewer cost me $7.00, I bought a new bucket with a lid, everything else I had on hand, I have a lot of odds and ends laying around, use your imagination to build one. The object is to aerate the solution, any means you can dream up will most likely work. there are many types of air pumps that can be used, when at a yard sale if something looks like an air pump, ask and find out what it is, it just may work.
Thanks for reading and sharing, raise worms, make tea, and be happy! If you have questions or comments ask me, I like to hear from you. Tell me if you have built a brewer, or maybe you make it in some other way.
jacquesandkate emergencykitsplus.com
No comments:
Post a Comment